 RSS Feed
 Twitter
How to make vivid ways logo
 Friday, September 17, 2010

Logo Design Process and Walkthrough for Vivid Ways


Vivid Ways is a new blog focusing on the topic of personal development and colourful living, it aims to inspire and encourage readers through ideas and tips on how to live an amazing life.
After some initial correspondence with Scott and Jon via email we had fleshed out some thoughts on the style of the logo and what values would be presented through it. Examples of a previous design were supplied, and it was mentioned that the sans-serif font used was ideal. One other requirement was that the logo should use a separate graphic element along with the Vivid Ways wording. Otherwise, there was creative freedom surrounding the design – which is always nice!
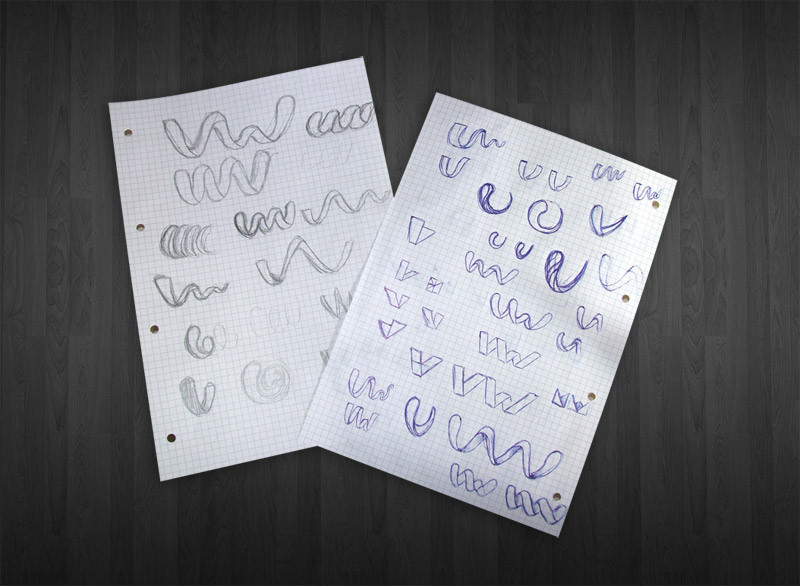
I started work sketching out my ideas for the logo, my main focus for the graphic of the logo was to display the letters V and W in a creative way that could be seen as an abstract mark, but also recognisable as the letters under closer inspection.
After conducting a little research, it occurred to me that the ribbon is a widely recognised symbol of life, so I concentrated on drawing up a ribbon that flowed and twisted into the shapes of letters V and W. The two styles that stood out were the straight/folded effect and the smooth/curling version, both of which represented the same message but in different visual styles.
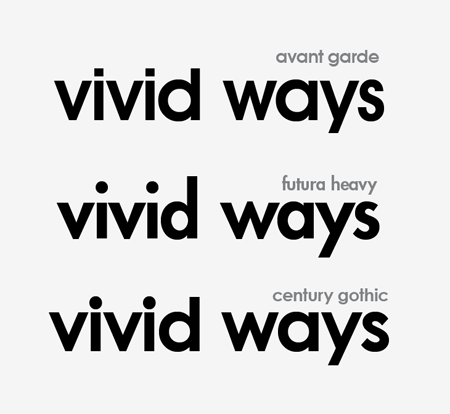
The logos graphic were then drawn up in Adobe Illustrator and experiments were conducted on the appropriate type styles. During the project commencement an example of a font was given, which I managed to identify as Century Gothic. Being a standard Windows font, I decided to compare it to two classics with similar letterforms: Avant Garde and Futura. I was expecting to go ahead with Avant Garde, but when placed side by side Century Gothic actually looked the nicest. I felt the letter S of Avant Garde and Futura was way too thin for the logo.
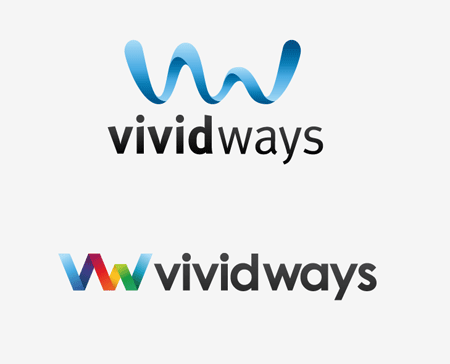
Colour wise, blue was an appropriate choice with it representing mind, body, confidence and intelligence in colour theory. It was also used well in the website design mockup.
Another idea for the colour of the logo was to take inspiration from the word vivid, and use a complete spectrum of colour. Combining both these colour concepts with subtle shading also helped boost the impact of the graphic with a three dimensional appearance.

Concepts were supplied to Scott and Jon and great feedback was received. Concept A with the smooth wave was the preferred graphic, but it was asked if it could be tried with the colouring and font choice of Concept B.
The final logo combines the strong waving graphic and vivid colour scheme and the smooth shapes of the typeface making for quite an impactful design.
Creating the Logo in Illustrator
With this background knowledge in mind, let’s take a look at the technical side of the design and see what processes are used to create this graphic in Adobe Illustrator.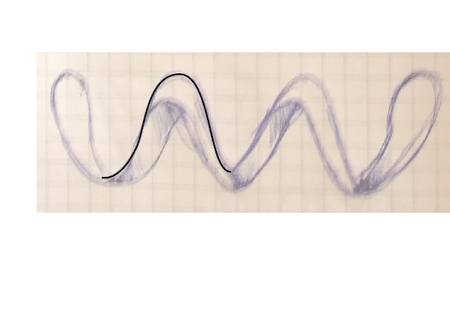
As previously mentioned, the logo started out as a bunch of sketches, these were developed on paper and the designs I was happy with were scanned in.
In Adobe Illustrator the image was placed on a locked layer, the outline of one of the peaks was traced and taken to one side. It was important not to trace the sketch entirely because there wouldn’t be any accuracy, instead the elements were laid out to specific measurements to ensure the logo would look good even at large sizes.
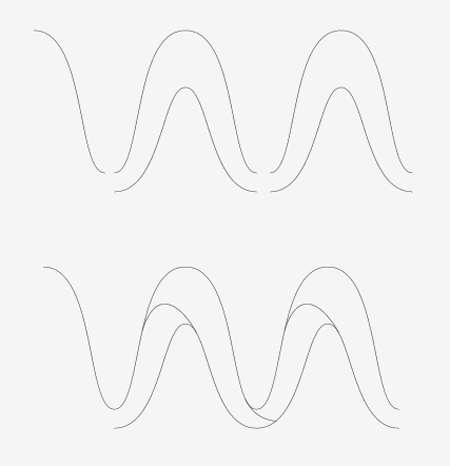
The peak outline was then copied and pasted, then moved to the side until the lines connected.
The paths were then edited with the Scissors Tool, and joined in specific places to make solid shapes out of each segment.
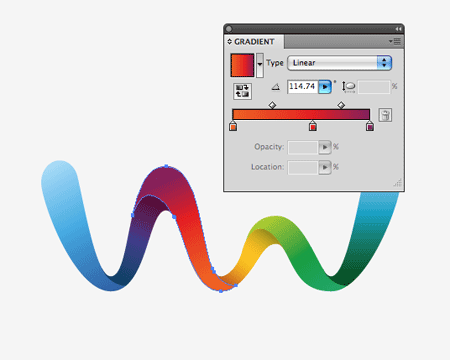
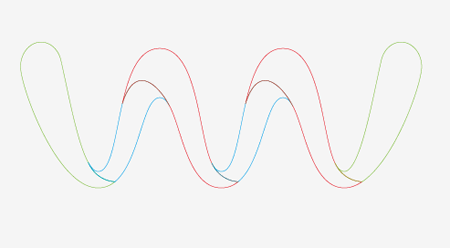
With the wave then being made up of individual shapes, Gradient colour fills could then be added. Blending any old colour samples just doesn’t work – the result is a muddy brown. Colours must be taken in their natural order in the spectrum (think rainbows or the colour wheel).
The range started with blue, which faded to purple, to red, to orange, to yellow, to green and back to blue.
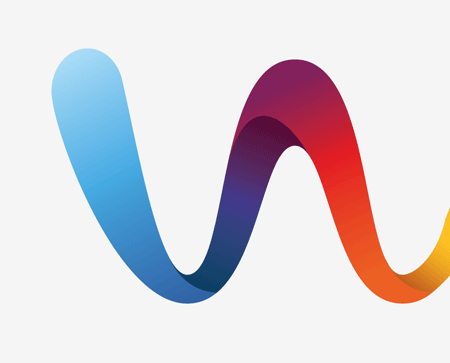
To give the three dimensional impression extra black was added to the areas of the ribbon that spiralled over, giving the impression that a soft shadow was being cast. This last touch is what really helps the graphic stand out.
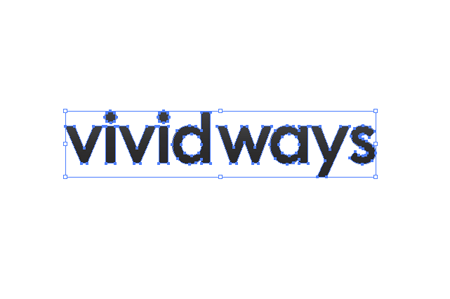
The chosen font was also laid out. This was edited slightly by reducing the tracking and carefully kerning the letters to give equal spacing on either side. The gap between the words was closed up slightly to pull the words into more of a combined mark.

The logo graphic and type were then combined, the flowing line of the graphic seemed to fit quite well into the natural shape of the text when sat in a vertical layout.
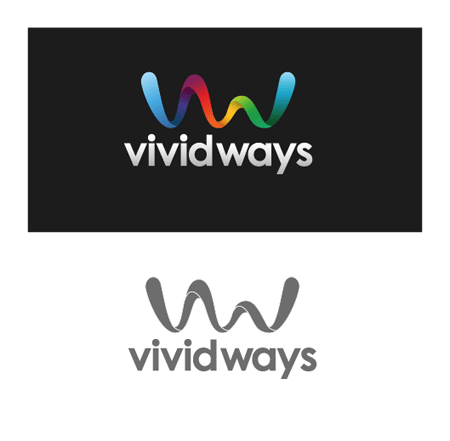
The final logo was then developed into a few secondary variations such as being reversed out of a dark background, and reproduced using a single colour for use in specific circumstances.
This rendered the project complete, the logo files were zipped up and sent over by email.
This is duplicate logo & process

0 comments:
Post a Comment