how to make Purple lemon logo
 Saturday, September 18, 2010

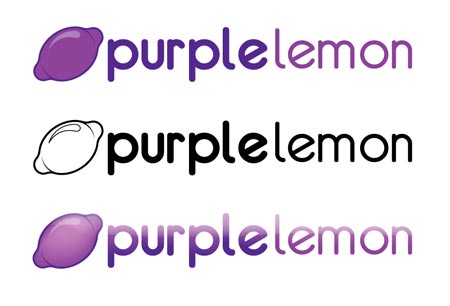
he logo that will be created in this tutorial can be seen below. Following the above rules this logo can be implemented on anything from a pen to full van livery, by designing it to work well in black and white, it can then be produced in flat colours, and then maybe even be given some trendy gradient and reflection treatment for use on screen.

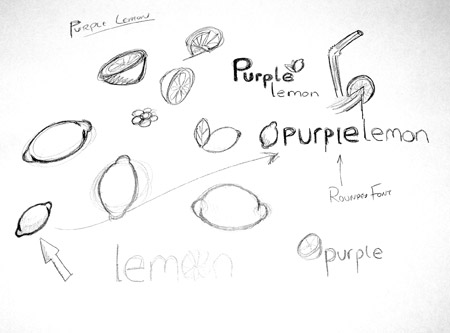
Before starting your computer based designs it is always useful to sketch out your ideas with a good old pencil and notepad.
It may also help to browse the internet for relevant images and photographs, for example in this project it helped to study the shape of a lemon.

Once you have your chosen design(s) in mind open up Adobe Illustrator, and create a canvas in CMYK mode.
Use the Ellipse Tool to draw an oval shape and fill with a random colour.

Draw a smaller circle while holding shift, then duplicate it and place them at either side of the larger oval.
Select all three objects and select 'Add to Shape Area' with the Pathfinder tool and click Expand, this merges all the shapes into one path.


To create a smoother, lemon-style shape, draw a curved line with the Pen tool that follows the form of the graphic, and complete the path to form a shape. Repeat this on the remaining corners. It may help to toggle to outline mode by pressing CTRL-Y.

Select all the shapes and select 'Add to Shape Area' again in the Pathfinder window and Expand, this shape now looks more like a lemon!

Zoom in on this shape's path and you will find a few unnecessary points, it is good practice to remove these using Delete Anchor Point under the Pen tool to give a smoother shape.


Next, select the shape and go to Object > Path > Offset Path…
Enter 3mm in the option box. Fill this new shape with another random colour.


To give the impression of a bulge in the centre of the shape, two curved lines will be added, to create these select the Star tool.
While clicking and dragging press the down arrow key to reduce the number of points until you have a triangle.

This triangle has some unnecessary points so remove them as before with the Pen tool. Then select the upper most point and drag vertically while holding shift to constrain the axis.

To bend this triangle go to Object > Envelope Distort > Make with Warp…
Select the Arc style and enter 50% on the Vertical axis.

Make this new shape editable by going to Object > Expand, and select just the Object box.

Scale, reflect and rotate this shape as necessary to fit within the outer shape as shown. Duplicate and repeat on the opposite side. Then fill these shapes in the same colour as the outer shape.


Select the inner shape and press CTRL-C to copy, then select just the outer and inner lemon shapes and press use the Subtract From Shape Area tool from the Pathfinder window and expand. This has now removed the centre of the outer shape. Press CTRL-F to replace the inner shape.
This will now allow us to merge the curved lines with the outer shape by using the Add to Shape Area from the Pathfinder window, press CTRL-SHIFT-] to bring this shape to the top.

Zoom in and check for any unnecessary points that can be removed.
Next the lemon can be given it's corporate colours, in this example I have used a dark purple of 70C, 80M, 0Y, 0K and a lighter purple of 45C, 70M, 0Y, 0K.
Rotate the lemon to roughly 45degrees to give it a little dynamism.

Despite adding the curved lines to give the appearance of a bulge the shape still looks rather flat, a reflection may help give more of a three dimensional impression..
Draw a circle whilst holding Shift, then drag a guide along the vertical centre of the shape.
Use this guide along with the pen tool and create a triangle as shown in the screenshot.

Use the Add to Shape Area tool from the Pathfinder to merge these shapes.
Give the shape a bend by using the Envelope Distort tool again (Object > Envelope Distort > Make with Warp), using the same options of Arc, 50%, Vertical.
Object > Expand > Object to make the shape editable.

Rotate, reflect and scale and bring into position on the lemon graphic, give it a light shade of purple such as 35C, 45M, 0Y, 0K.

This leaves our lemon icon/graphic complete, now onto the typographic element…
Type out the words 'purple' and 'lemon' and set in your desired font. In this case I have used a free font from www.dafont.com called Eurofurence. It's rounded appearance is similar to the popular VAG Rundschrift typeface used in many 'Web 2.0' logos and gives a friendly, modern, trendy image.
At first I used the bold weight for the word 'purple', but it looked too overweight so I set them both to regular, and used a stroke to give a slightly stronger appearance to 'purple'.

Convert the text to outlines (CTRL-SHIFT-O) and align the two words to the baseline, zoom right in and use guides or a temporary square shape to adjust the kerning of the characters by eye. Also adjust the word spacing as desired.

Select the word 'purple' and go to Object > Path > Outline Stroke, draw a selection across each letter individually and Add to Shape Area from the Pathfinder window. This removes the duplicate paths from the stroke we added earlier and creates a nice simple letter outline.


Use guides again to balance the lemon graphic with the text, scaling the lemon to fit within the Ascender and Descender lines.

Finally add the corporate colours to the text to link the design together. Then variations can be produced such as a single colour version, flat colour version and full blown glossy reflected super trendy Web 2.0 version!
 Its a duplicate Artical
 RSS Feed
 Twitter


0 comments:
Post a Comment